 In January 2006 the patch meeting included an hands-on demo of
powercarving. Several of our members had attended a woodcarving class and
explained what they had learned.
In January 2006 the patch meeting included an hands-on demo of
powercarving. Several of our members had attended a woodcarving class and
explained what they had learned.
The amazing gourd on the left is a creation of June Kent.
In January 2006 the patch meeting included an hands-on demo of
powercarving. Several of our members had attended a woodcarving class and
explained what they had learned.
The amazing gourd on the left is a creation of June Kent.
First you have to select a gourd as thick as possible. It is not easy to know but you can check its weight, and I was told that the darker the gourd the thicker the wall. You can also ask your local grower to pick one for you, he/she will have more experience.
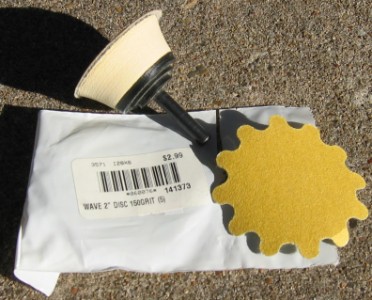
Open your gourd (use a Micro-Mark gourd saw, or similar tool) and clean the inside. Don't forget your mask and goggles. To sand the inside I mount a round foam pad onto my power drill, and place a round sanding paper on the pad (Velcro). You can find this sanding attachment at WoodCraft. They even sale a sanding paper with waves so that it doesn't leave a mark at the edge of the pad.
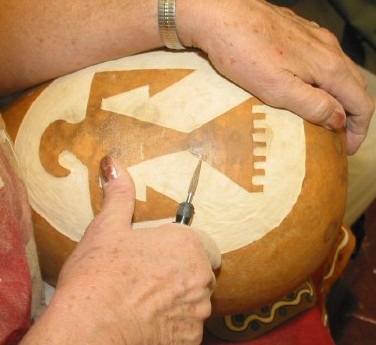
Draw your design on the gourd with a pencil. Once you are satisfied you can use a permanent marker. Wiping the gourd with a wet paper will remove the pencil lines.
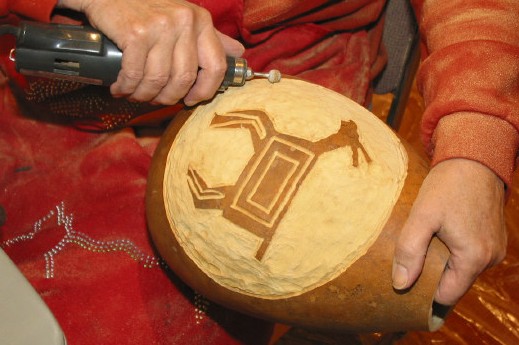
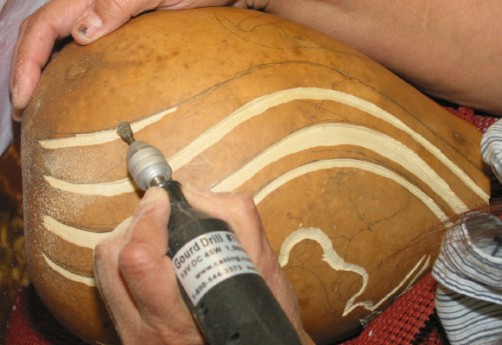
You are now ready to carve. Select a cutting wheel and follow your lines. This will act as a boundary and when you will use the burrs to remove material the burr will not jump the line.
Keep in mind which area should be carved deeper to appear in the background. Use a pencil to mark these deeper areas, you will carve them last.
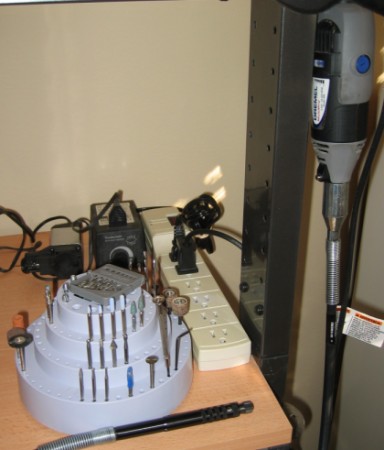
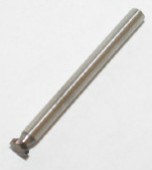
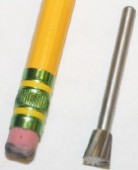
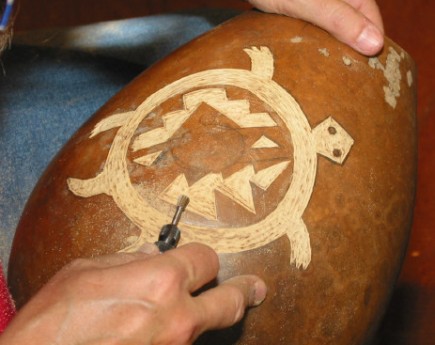
Remove material inside the cut marks using a round tungsten carbide burr (shown below) or a reverse taper (shown above). Place your wrist or the side of your hand on to the gourd surface, it will give you more control and precision.
If you happen to cut through the gourd, either incorporate this hole in your design if you can, or fill it with wood putty. If you paint your gourd the
repair will be invisible.
You can sand your carved areas with riflers or you can leave it as is, and
then paint and finish as desired.
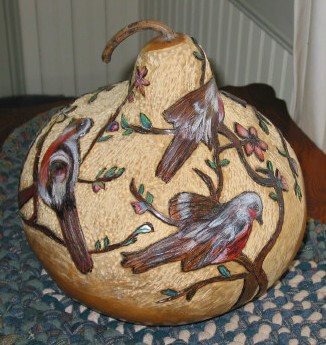
The gourd below is a creation of Darla Hines:
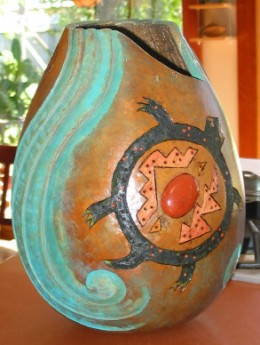
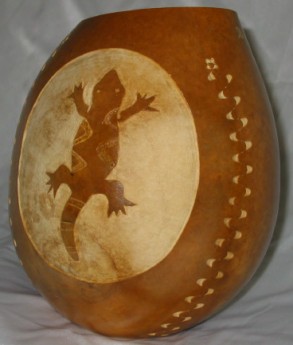
This leaping lizard has been carved by Bill Willibey, with a wood chipping pattern on the side: